PandaDoc is an all-in-one document automation platform that streamlines the creation, approval, tracking, and eSigning of business documents. It offers a range of features such as document templates, pricing tables, eSignatures, document analytics, and payment processing that can help businesses close deals faster and more efficiently. PandaDoc integrates with a variety of other tools and services, including Salesforce, HubSpot, Zapier, QuickBooks, and more. This makes PandaDoc a versatile solution that can fit into a wide range of workflows and systems. In addition to its main document automation features, PandaDoc also offers a range of add-on solutions for specific industries such as HR, sales, legal, and IT. These include tools for generating employment contracts, maintaining legal compliance, creating project proposals, and more.
How to Get Started with eSignatures in PandaDoc
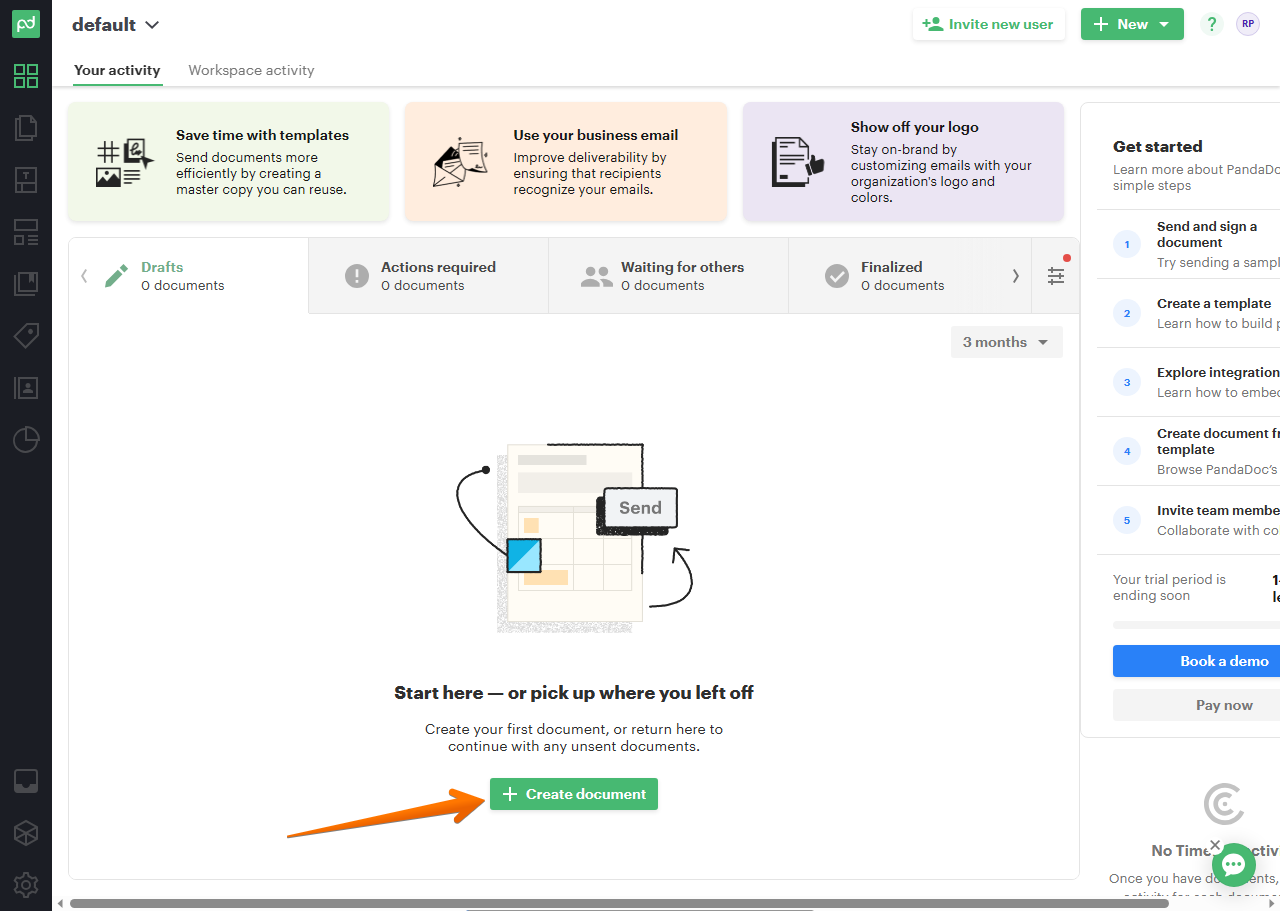
We could say that this is the star feature of PandaDoc. Indeed, the possibility of being able to receive and sign a document without having to print it, scan it and send it again is really great. Without further ado, let's see how we can electronically sign a document with PandaDoc. The first thing you have to do is to go to the DashBoard of the application. Once there, just click on Create document.
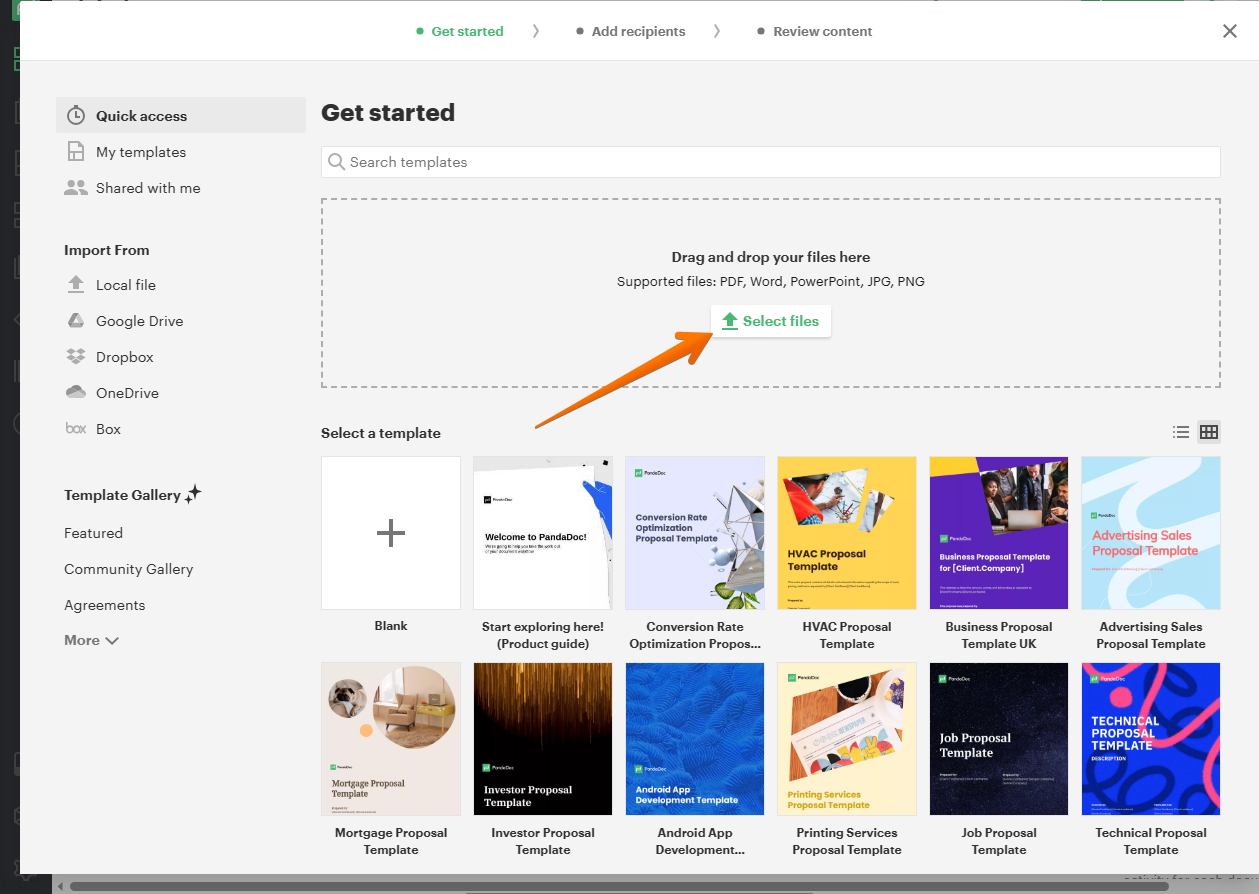
In the next menu, you have to click on Select files.
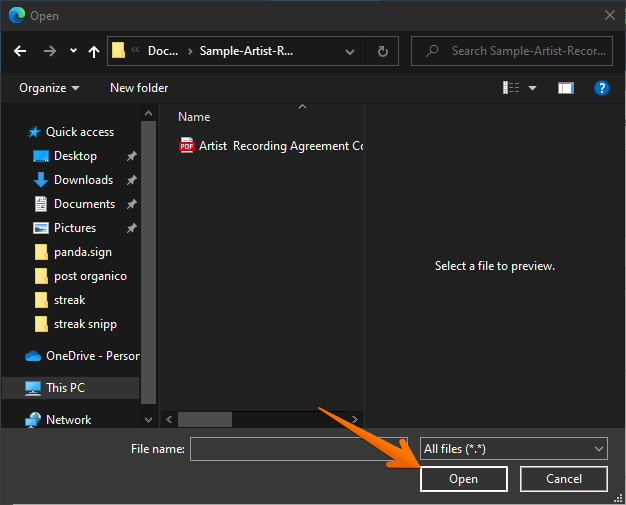
In the floating window, please select the document you wish to sign.
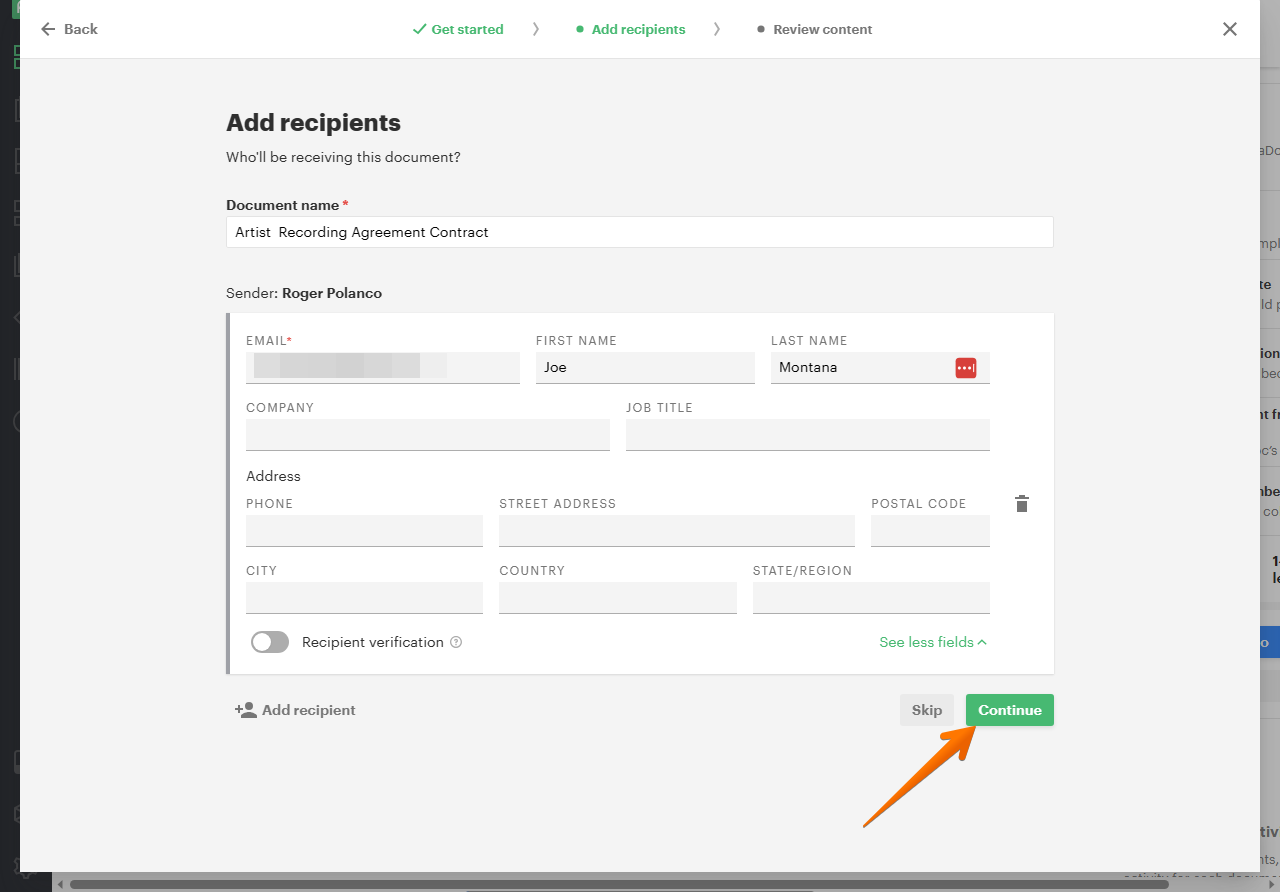
Now, it is time to add the document recipient. With this in mind, add the name of the document, plus the recipient's email address. Optionally, you can add the first and last name as well. It is even possible to add the recipient's address information. But again, this is optional. When you are ready, click Continue.
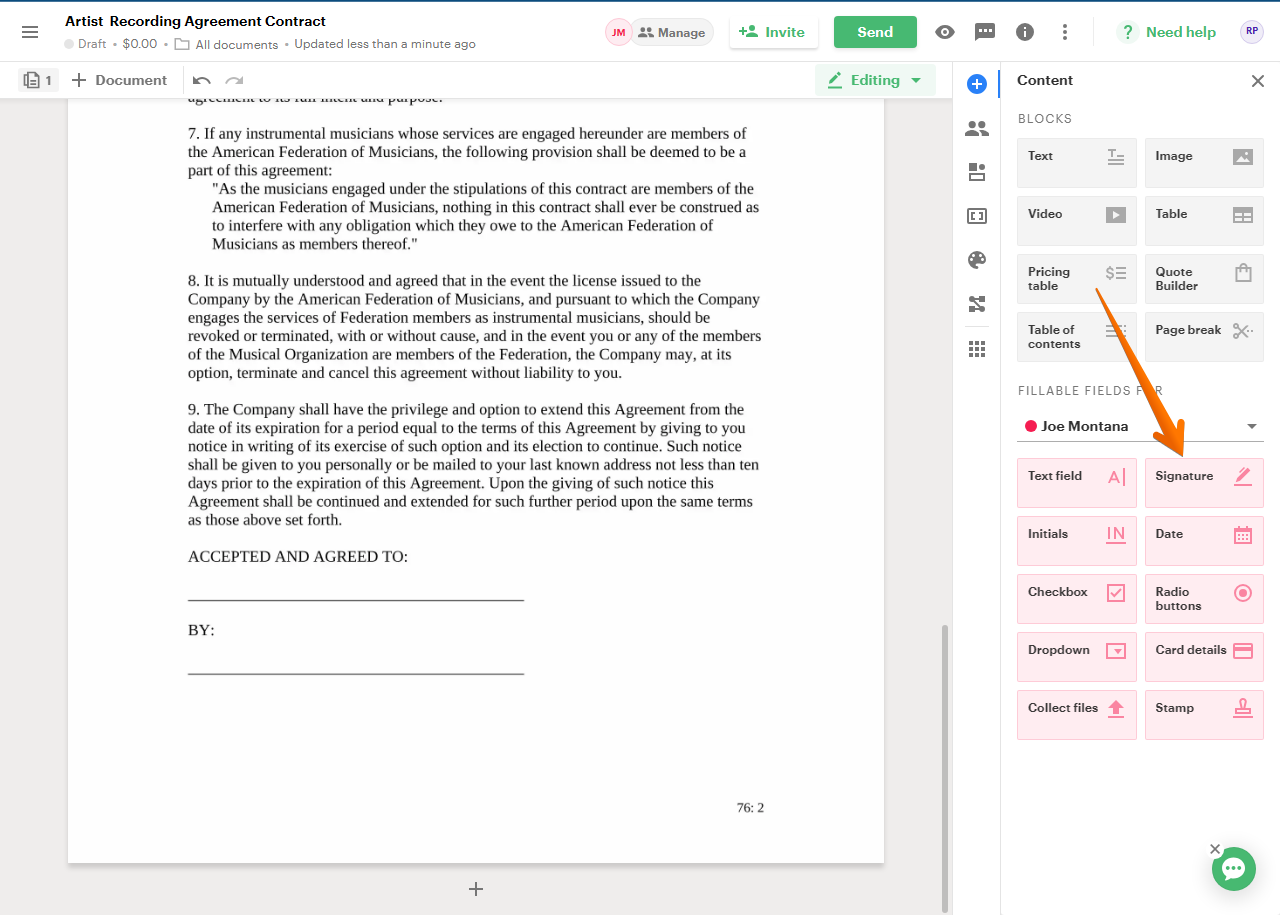
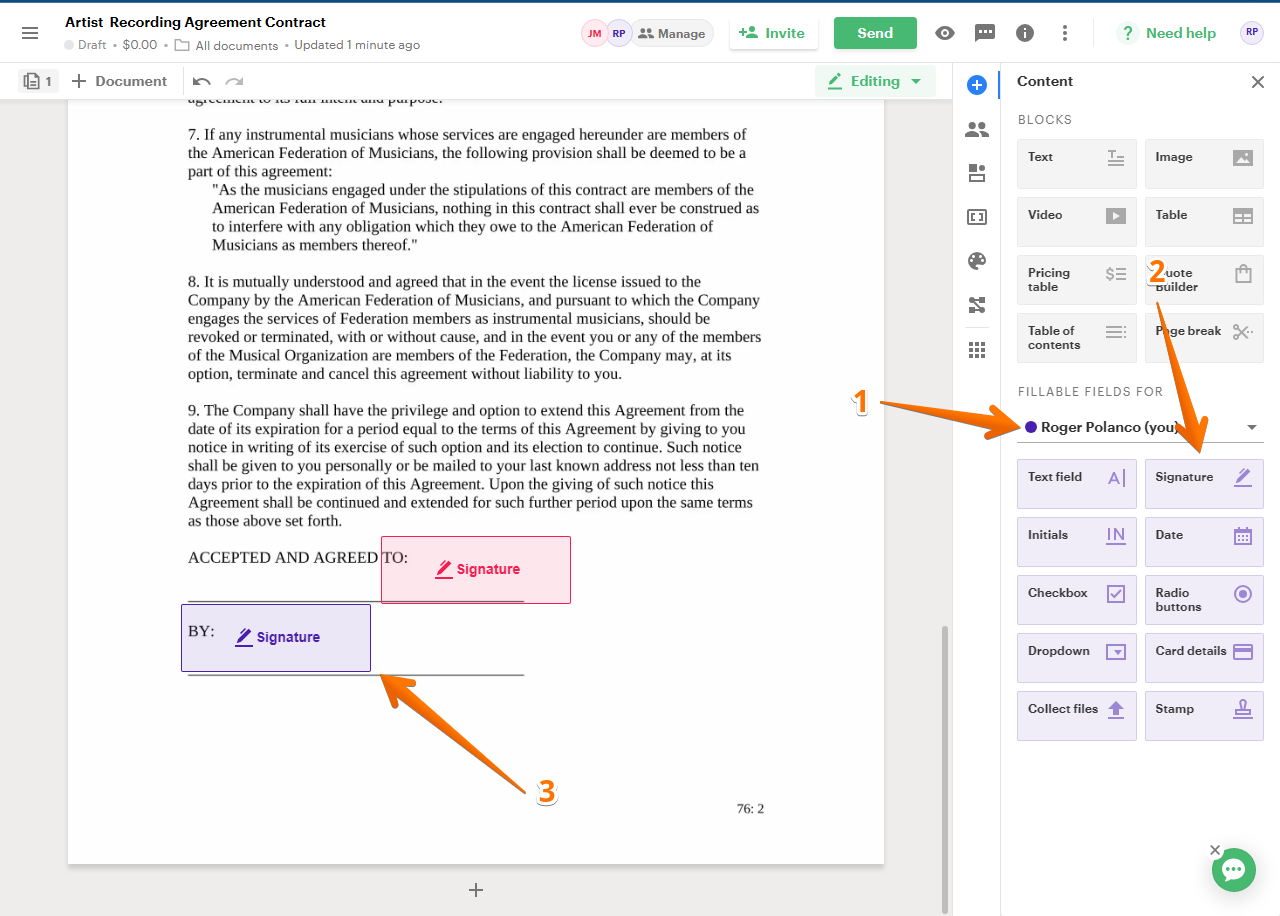
After a few moments, the loading of the document will be completed. In fact, you will see it in the left column. In addition, a series of boxes and tools appear in the right column. The ones we are interested in are those relating to fillable fields. Specifically, you have to click on Signature.
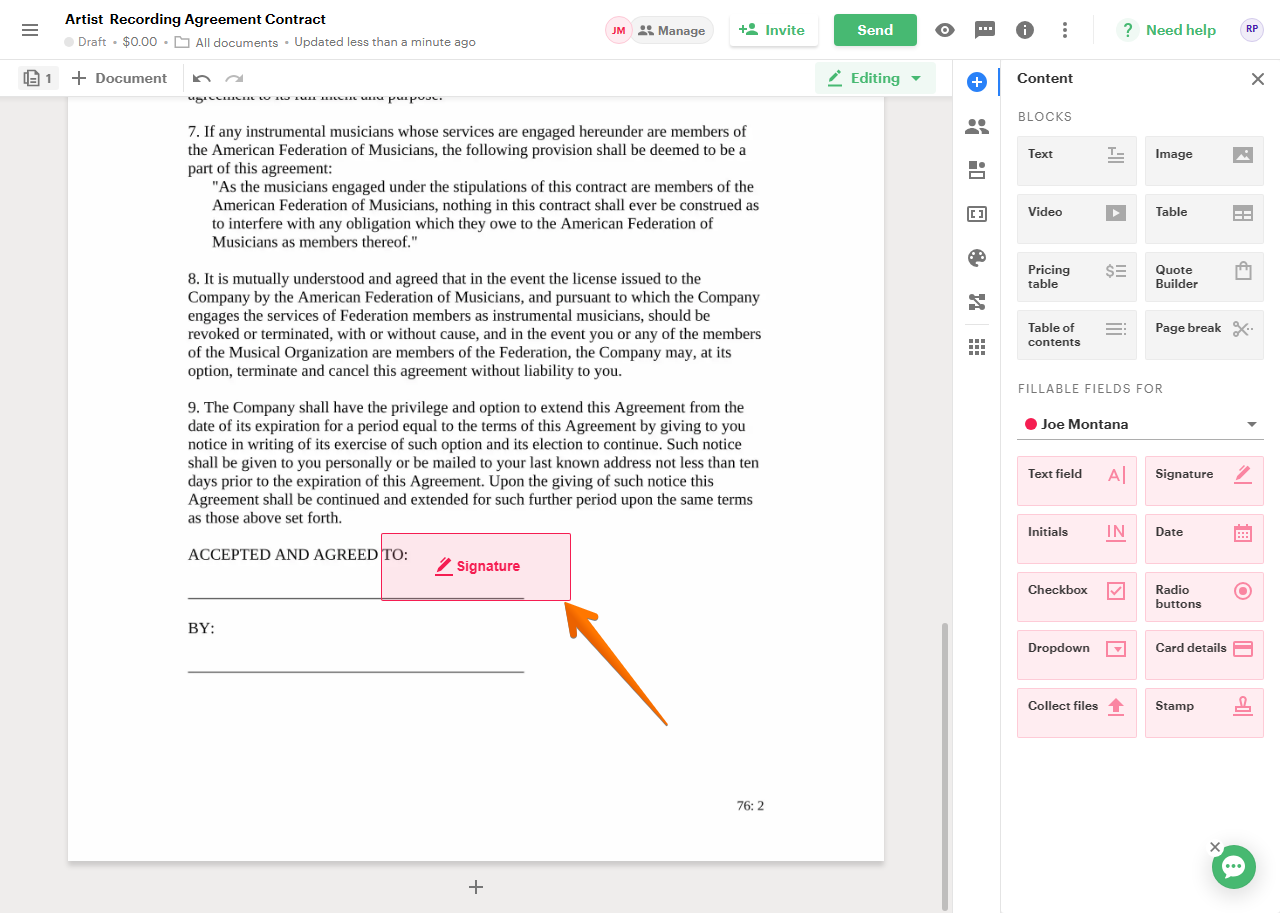
Consequently, a floating box is displayed to be placed in the space where you want the signature to be stamped.
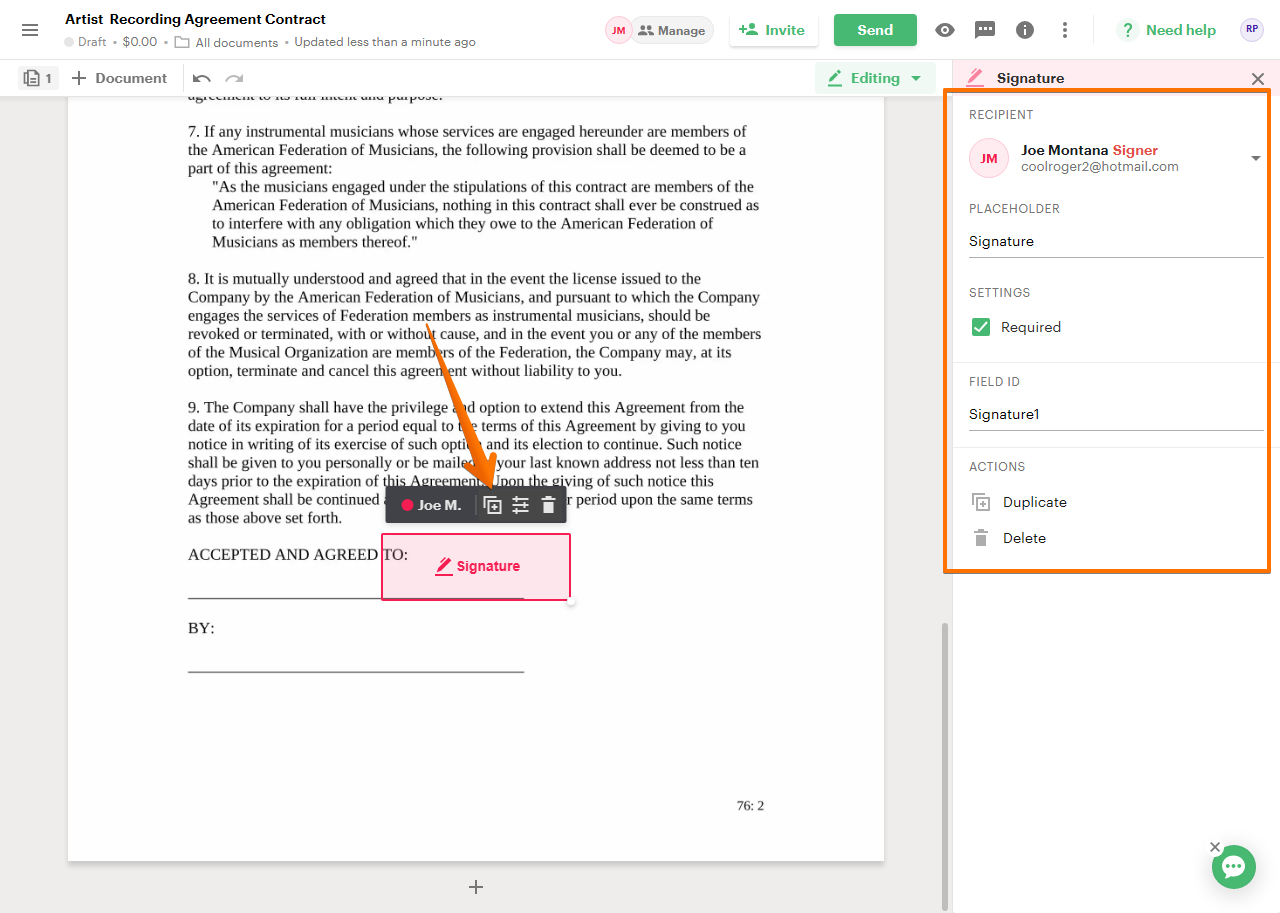
If you click on the box, some very useful dialog boxes will be displayed. In the recipient's name, you can specify who will sign the document. It is even possible to add a new signer.
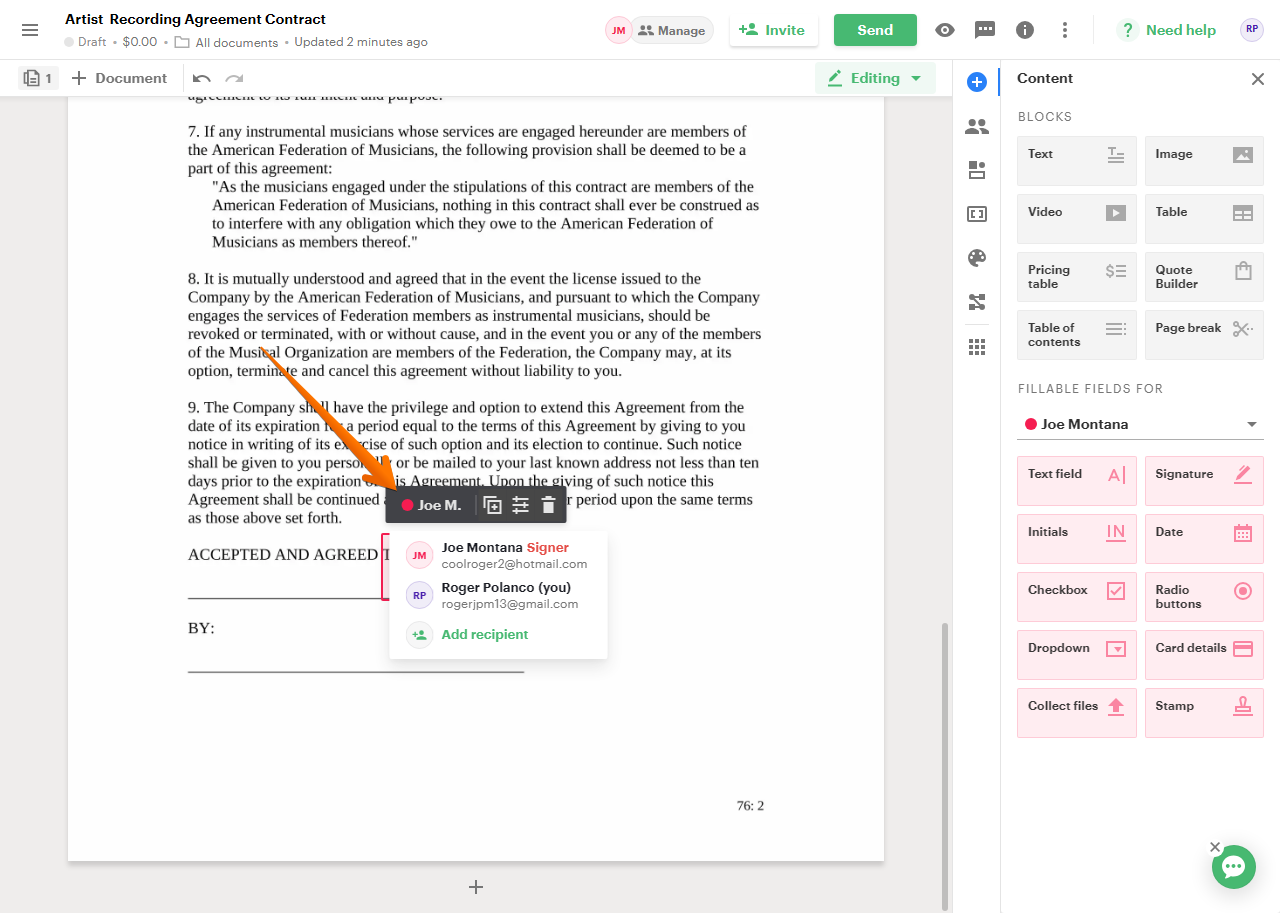
The next and last icons allow you to duplicate the signature box and delete it, respectively. However, if you click on the Settings icon, you will open the signature properties of the document. We can customize the name of the placeholder, as well as set whether the signature is required. We can even generate an ID for the field. This is very good for organization purposes. We can also duplicate or delete the signature field.
If you click on the username, you can add a signature field corresponding to the document issuer. The properties are the same as in the previous steps.
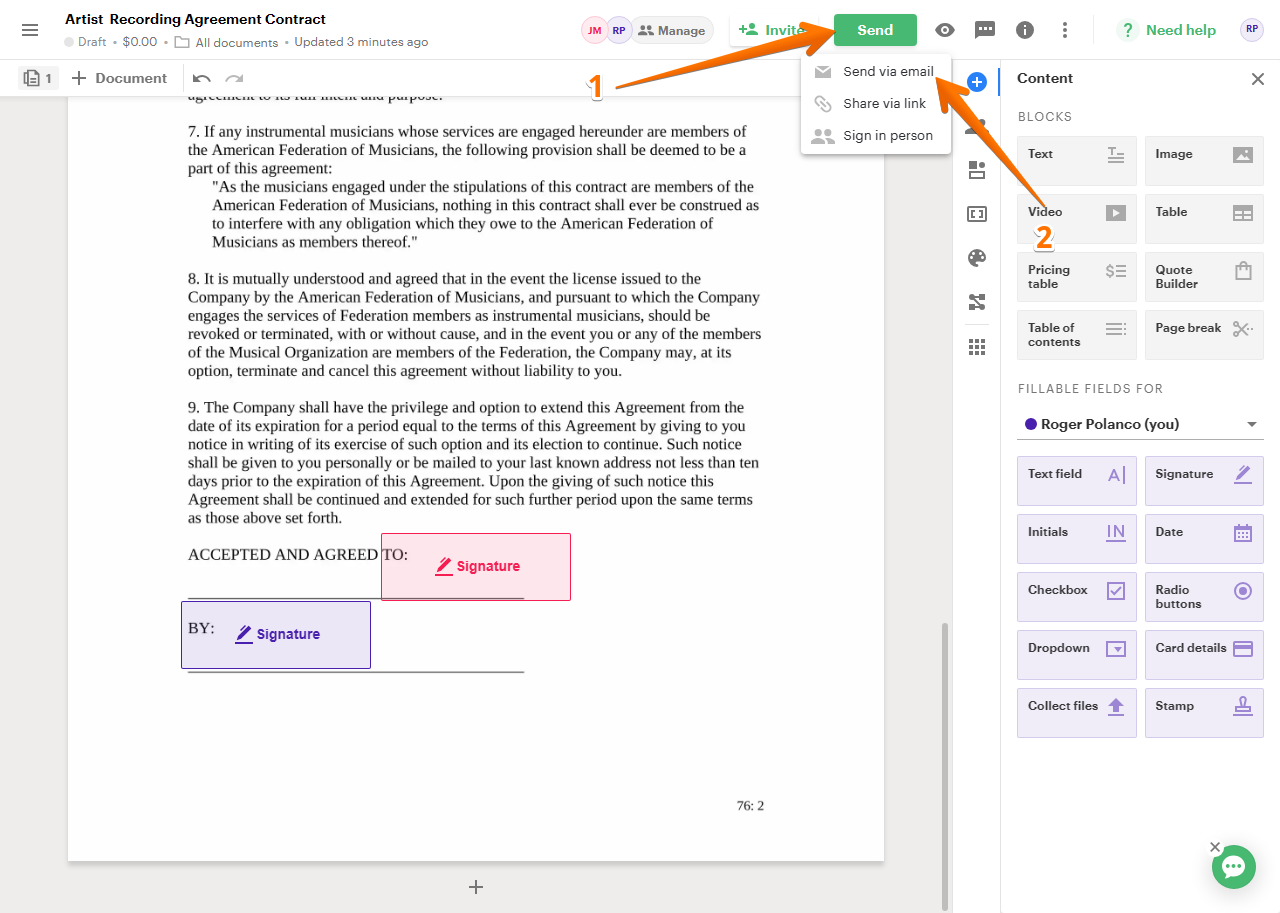
When you are ready, just click on Send and select the sending method.