Signeasy is an eSignature solution that allows businesses to streamline and automate their contract workflows. It has processed over 100 million contracts across 180 countries and offers enterprise-grade security to protect contracts from potential threats and ensure compliance with international eSignature laws. Signeasy integrates with various business tools like Google Workspace, Microsoft Teams, and Outlook, and provides highly-rated mobile apps for iOS and Android to sign, send, and manage contracts on the go. It also offers modern, robust, and secure eSignature APIs for custom integrations. Users can sign documents without signing up or logging into the account, and the platform offers features such as smart scroll for faster document filling and signing. Customer reviews highlight its ease of use, value for money, customer support, and functionality, making it a popular choice for businesses looking for an easy and efficient eSignature solution.
Electronically sign a Word document with Signeasy.
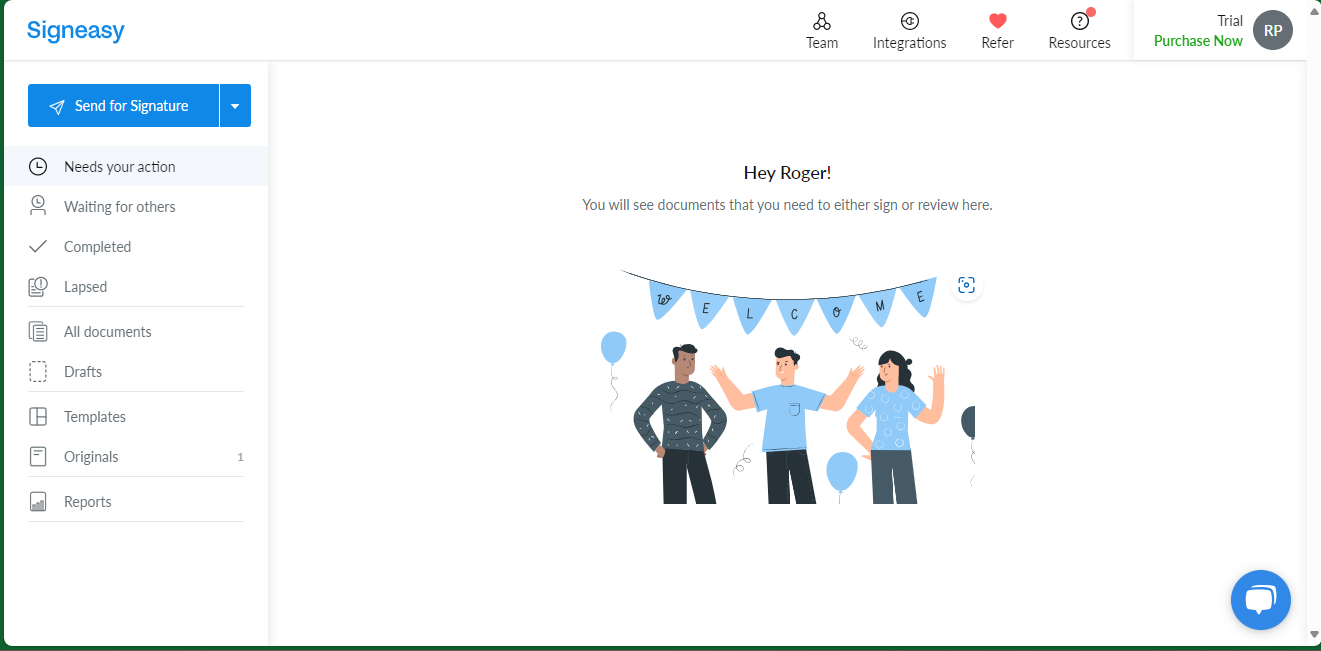
In today's post, we are going to explore a little of Signeasy's functions. As we have already explained, through this document it is possible to sign documents electronically. Additionally, it allows you to manage various file formats. For example, the default file format is PDF. However, it is also possible to manage different formats. In fact, today we are going to see how to manage and sign a doc file. The first thing we have to do is to open a Signeasy account. Then go to the Dashboard of the application.
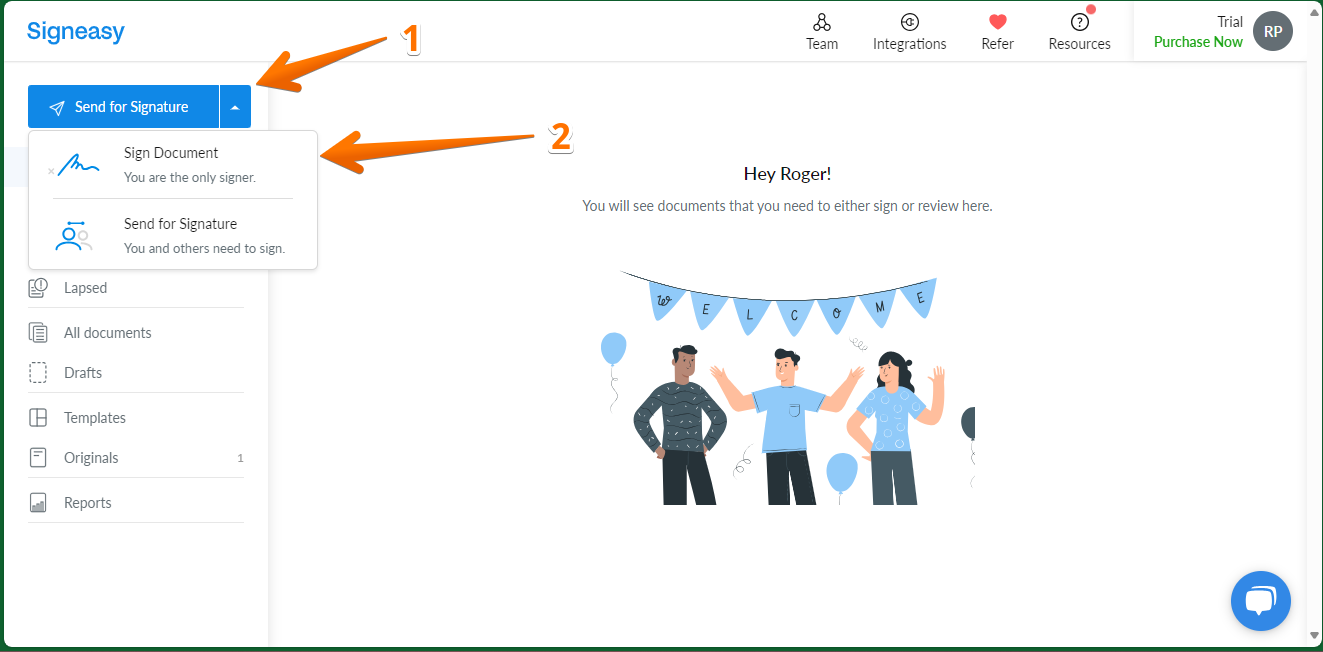
Once there, just click on Send for signature. This will bring up a new menu. Consequently, you must click on Sign Document
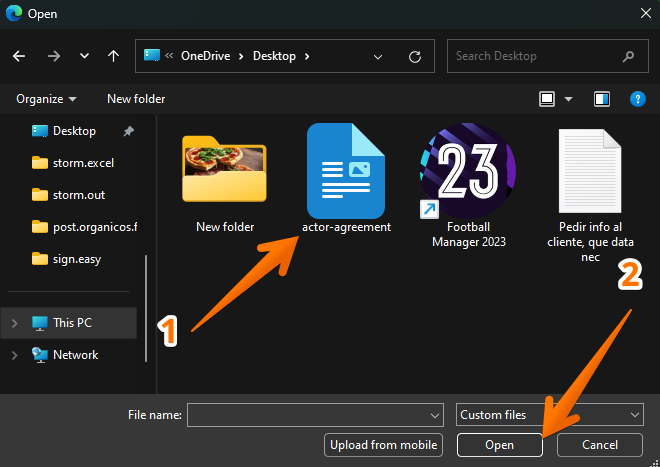
Next, a floating window will pop up where you must select the file you want to sign. In this case, it is obvious that you have to select a file in doc format.
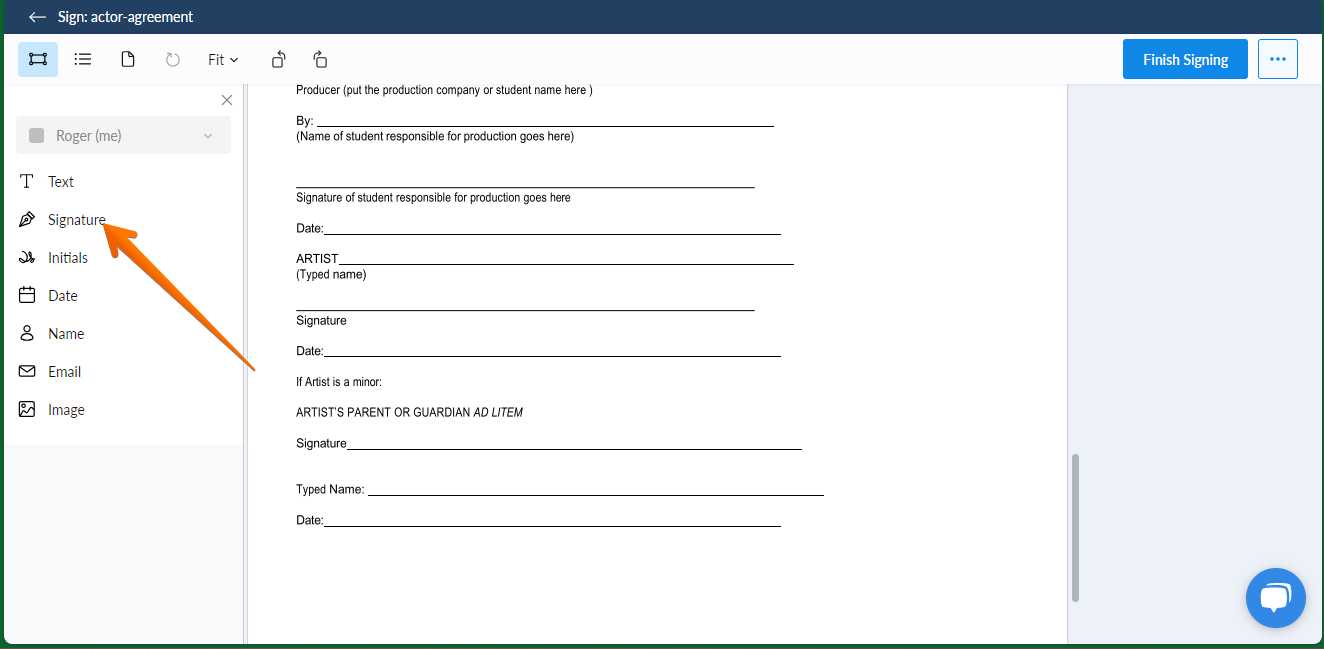
Consequently, the options related to the document signature will be displayed. As you can see, there are several options. However, in this case, you have to click on the Signature option.
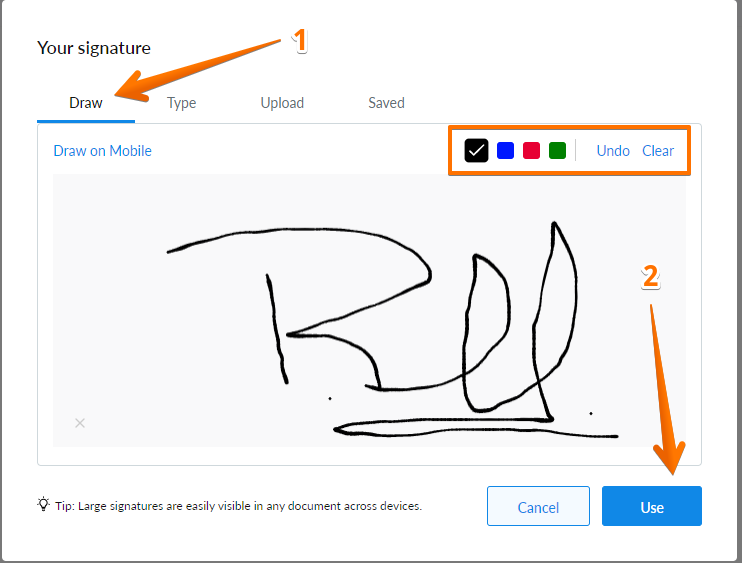
After this, you will see that the different options to apply the electronic signature appear. In the first one, you can apply Free Drawing. Additionally, it is possible to set the color of the pen you will use to stamp the signature.
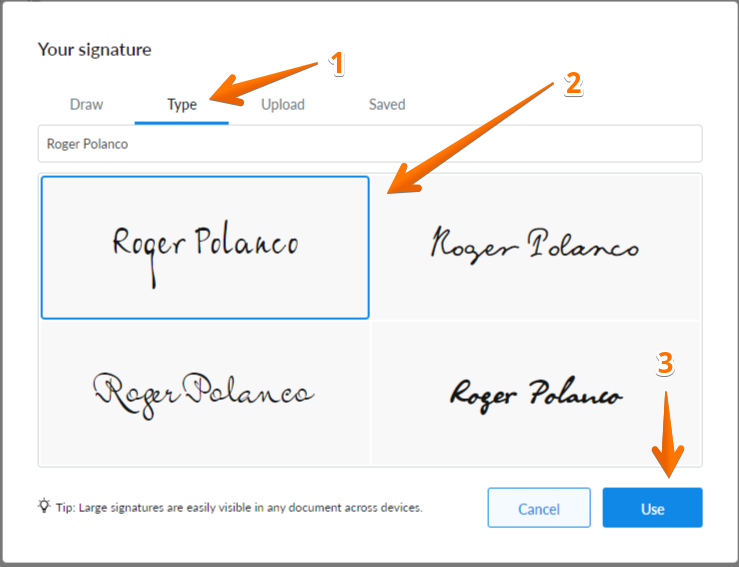
The second option corresponds to using a signature generated by the same tool. With this in mind, just click on the Type tab. Then, you just have to select your favorite of the four available options.
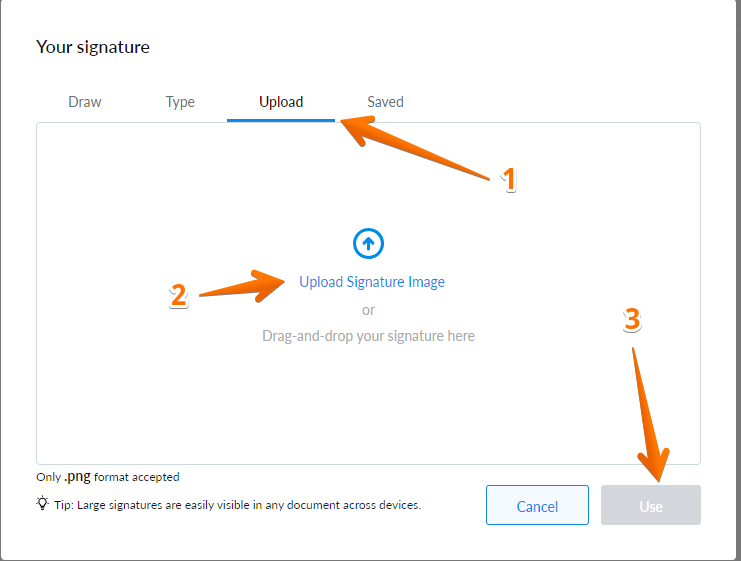
Another option available to perform the electronic signature, is by uploading a signature previously made and saved in the computer. Just click on the Upload tab. Additionally, you must take into account that in this case, only PNG files are allowed.
Finally, if you have previously signed a document, then you can make use of a previously saved signature. Just click on the Saved tab.

Note that before selecting any signature option, you have to click Use to set it.